How to Set Up Free Amazon VPS (EC2)
Want a Free Virtual Private Server to test out AWS EC2 VPS service? This guide gives you the steps needed to get an EC2 instance setup on the free tier.
What is a VPS?
A VPS is a virtual private server. Amazon Web Services (AWS), allows you to create a free virtual server to see how their products work. This is a small server with limited virtual hardware but they are powerful enough to host a website, teamspeak server, or anything else you would normally do with a VPS. The advantage of a VPS is being the only tenant on it. Normally in shared hosting you are required to share an IP with sometimes hundreds of other tenants. If one of the “others” misbehaves, they might get the shared IP blocked. Maybe they host illegal/immoral content, or otherwise cause havoc such as sending SPAM emails. VPS usually do not share IPs and definitely do not share memory/file space. The disadvantage is simple: you maintain the VPS yourself. You do patching, security, and optimizations. You install packages and troubleshoot it. Now you know the basics of what a VPS is and have some ideas of why you might use it.
What is EC2?
EC2 is AWS’ elastic cloud computing service. EC2 of the many services provided by AWS that allows you to create simple servers. As a trial, you can create several types of EC2 server for free, for up to a year. Normally these servers cost from $10 a month and up to thousands per month.
What is meant by Free Tier?
Free tier means that some of their services are free, and the ones in that group are considered “free tier”. You will create the server power of your choice and some of the options are simply free.
1. Create an AWS Account
If you already have an AWS account, then use it. Otherwise create a new AWS account. If you need additional help with the details, AWS has a handy link to their account create instructions (yes, payment method and phone verify are required – even if it’s free).
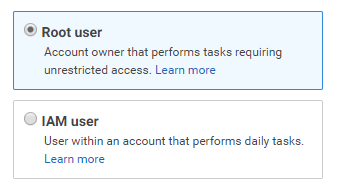
You will be asked what kind of account to create. There are only two options:
- Root User
- Root user is not best practice for production environments, but for understanding what AWS EC2 is all about, it is fine. It means you have only one user and they have full access to everything.
- IAM Account
- Identity Access Managment accounts allow for very granular control of what you can see/do/delete/change and we won’t be using them for this tutorial. It is best practice to use IAM accounts to access various parts of your AWS account.
2. Create an EC2 Instance
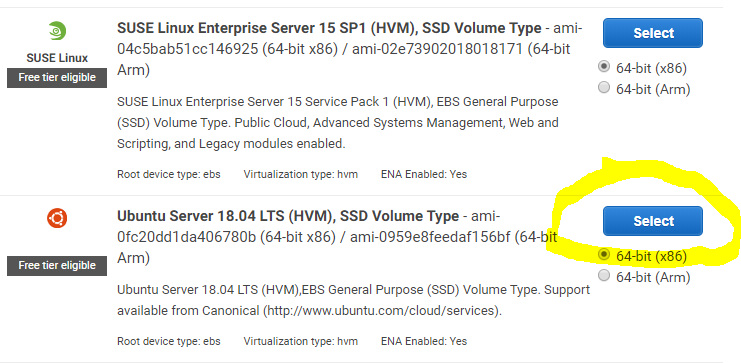
You will likely login directly to the “management console”. From here you can perform many tasks, but to create an EC2 Server you will click on “Launch a virtual machine“. And you will be presented with a choice of many types of virtual machines. Pick one of the free tier software images such as Ubuntu 18.04 LTS (we’ll specify virtual hardware next).
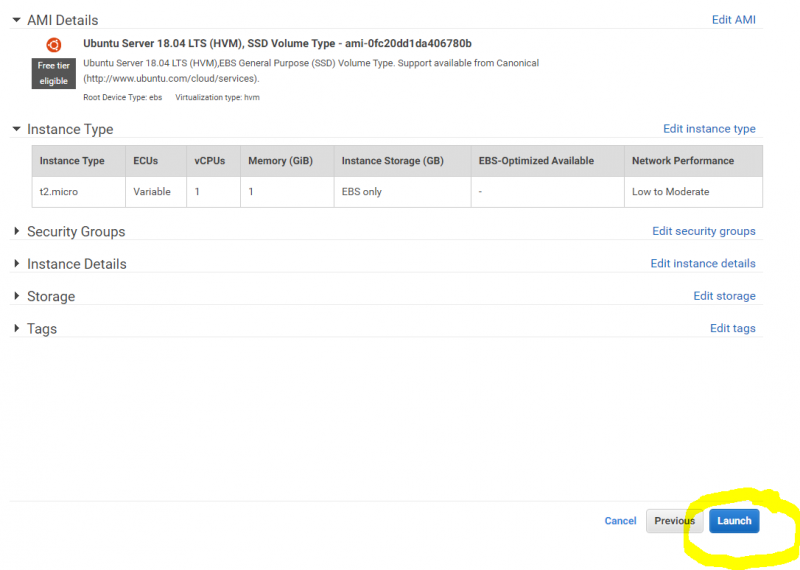
Next, choose the “power” or virtual hardware option. The t2.micro is free (see screen shot):

You’ll need to “review and launch” and then “launch”:
AWS only allows you to connect to your instance with a key pair. You’ll need to create this. It’s a small file that you will need to access your server later. Name it whatever you want, then download the keypair someplace where you can find it easily.
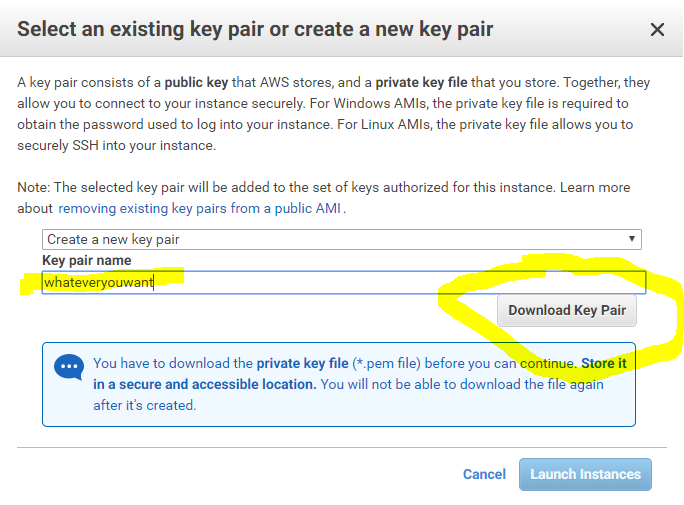
Finally “Launch Instance” to turn it on and being using it.
3. List All Instances
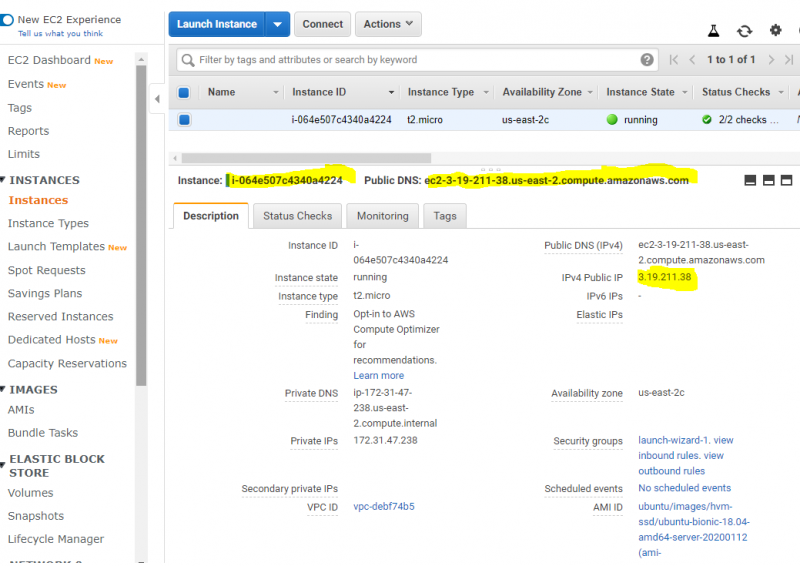
It will take a few minutes but then it will appear in your “all instances” list. Note that I link to the east-2 datacenter, but your link will be whatever data center you created your instance in. If you expand the details of your instance you can see your IP and public DNS.
4. Use Your Favorite SSH Client
I use cygwin on windows. Cygwin is a collection of unix-like tools that you can run from windows. There is an ssh client built in that you can select during install. You can of course use putty, or whatever your favorite ssh client is too.
In cygwin you will need to set the permissions of the .pem file that you downloaded in step 2. The default permissions of 755 assigned by windows will cause an error. So you will need to change it to 700:
|
1 |
chmod 0700 /cygdrive/c/Users/YourName/Desktop/whatever.pem |
Next you need to specify the key and login with the username “ubuntu”. In my example I’ve moved my .pem file to my ~/.ssh/ directory, but you can use it from anywhere. The -i switch tells ssh where to look for your identity key. The basic command is ssh -i /path/to/whatever.pem [email protected] In my case, and based on screenshots you’ve already seen that looks like this:
|
1 |
ssh -i ~/.ssh/whatever.pem ubuntu@3.19.211.38 |
5. Basic Server Maintenance
You will want to update your server and install a firewall immediately. Here are the commands to update your server:
|
1 2 |
sudo apt-get update sudo apt-get upgrade |
UFW is the firewall that comes with ubuntu. The commands are simple, but you need to know your public ip first. And if your public IP changes, you’ll need to update your firewall policy, preferably using automated firewall update scripts. Here are the basic commands for enabling your firewall (replace x.x.x.x with your public IP):
|
1 2 3 4 |
sudo apt-get install ufw sudo ufw default deny sudo ufw allow from x.x.x.x to tcp port 22 ufw enable |